Brought to you by
RockTape Australia
Currently 6, clear sky, at Bells Beach Victoria
Presented by 
Currently 6, clear sky, at Bells Beach Victoria
Presented by


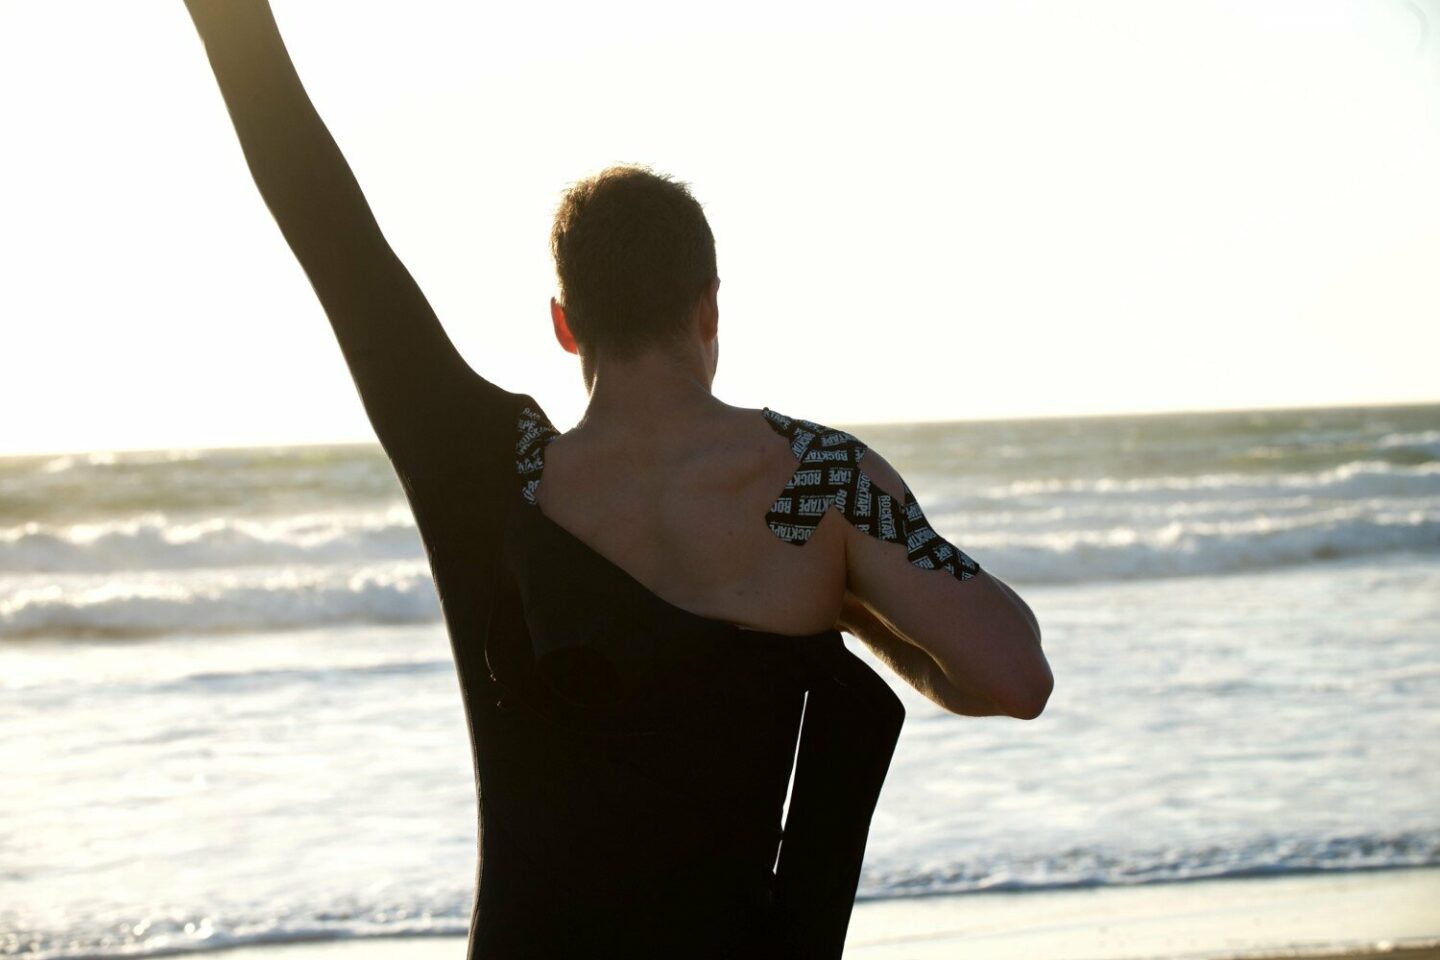
Sore shoulders can be a curse for surfers.
The majority of our surf time is spent paddling, so it makes sense that we need to ensure the health and wellbeing of our shoulders to get the most enjoyment out in the water.
Like any part of the body, the “use it or lose it” motto definitely applies to our shoulders and with our current Victorian restrictions, there are plenty of surfers “locked down” without access to the ocean or even their local pool to maintain some paddling fitness.
Added to that, many are “working from home”, often with substandard ergonomics, leading to prolonged poor postures hunched over a laptop on the kitchen table.
This could spell disaster for many when they can finally return to the water, but their body is so out of condition!
The key to good shoulder position when paddling is having good upper back mobility.
If you are hunching over the screen all day, chances are that you are not going to be able to maintain a good paddling position on the board as a poor sitting position is the opposite position to what we ideally want when paddling.
Being unable to keep your chest up off the board puts the shoulders at much greater risk of injury as they are operating from a less than ideal starting position.
There are two requirements for the thoracic spine- the part of the spine between your neck and low back.
It needs to be flexible and the muscles controlling it need to have good endurance to maintain a good paddling position.
Exercises 1-3 will help with flexibility and Exercise 4 will help with strength/endurance of the trunk muscles and the shoulder muscles:
1. Starting in right side-lying, bend your knees and hips both to 90⁰ and stretch the arms out straight at chest level.
2. Keep the hips and knees still and move the straight top arm (left) towards the ceiling and continue towards the floor behind you, aiming to get the left shoulder as close to the floor as possible. Return to the starting position and repeat x 10 total
3. Repeat in left side-lying with the right arm moving x 10.
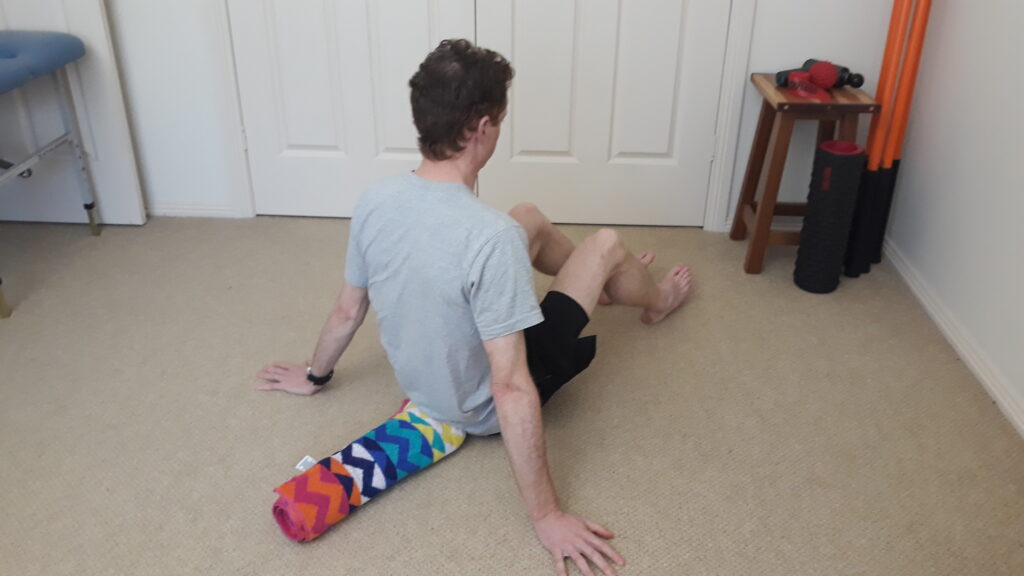
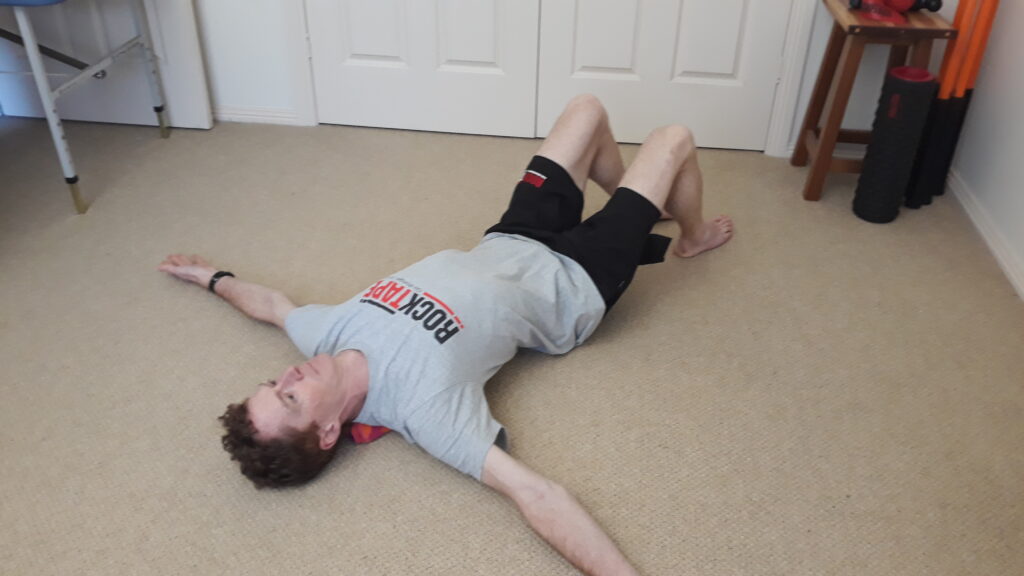
1. Position a firmly rolled beach towel or foam roller on the floor and lay on your back over it with the towel/roller running vertically along your spine.
2. To make the stretch even stronger, stretch both arms out straight to the sides.
3. Hold this position as long as tolerated for up to 2-3 minutes.
1. Assume a half kneeling position – Kneel on the floor on the right knee, with the left foot forward and flat on the ground.
2. Take the broomstick in the left hand and feed it under the left thigh and across the front of the right knee.
3. Reach forward with the right hand across the body and grab the broomstick with a thumb down grip. Then with a straight left arm held out at chest level, move from the 12 o’clock position (in front of you) as far around to the left as you can go towards the 6 o’clock position (behind you). Repeat x 10, then change sides to stretch to the right.
1. Lay on your front in the “paddling” position, raising your chest off the floor. Take both arms forward towards the 10 o’clock/2 o’clock positions with straight arms (the Y position), then move them to 9 o’clock/3 o’clock (the T position), and then bend your elbows to 90⁰ and squeeze the shoulder blades together (the W position). Keep your arms raised off the floor as high as you can whilst repeating the sequence Y-T-W-Y-T-W etc x 10-30 repetitions.
The shoulders also need to have a good mix of flexibility and strength. The following exercises will work on both components and can be done with simple equipment- a broomstick and a resistance band.
1. Stand with your feet shoulder width apart, knees unlocked and “tail slightly tucked under” so you don’t have a big arch in your low back. Have a wide grip on the broomstick (even on each end of the stick if you can reach) do a kayak paddling action, keeping the elbows straight. Focus on the movement of the shoulder blades gliding on the rib cage.
2. Paddle forwards for 30-60 seconds, then reverse and paddle backwards for 30-60 seconds- again ensure your elbows are straight as this is a little trickier!
1. Stand with your feet shoulder width apart, knees unlocked and “tail slightly tucked under” so you don’t have a big arch in your low back. Grip the broomstick with a comfortably wide grip, and pull apart on the stick with about 30% of your maximum tension (as if trying to make it longer) and maintain that tension whilst you take your straight arms up over your head as far as you can comfortably go. Don’t let your back arch to get further! Keep the outward tension on the stick and then slowly bring the stick back forwards.
2. When you see the stick just above eye level, change to a “shortening” tension- push your hands together at the same 30% tension and lower the stick to the starting position.
3. Repeat this move slowly and with control x 10-15 times. You may get further as your shoulders warm up but don’t force the range and don’t go into any pain.
1. This exercise is similar to the standing version (exercise 6) but this time start by laying on your front. Have a wide overhead grip on the stick and keeping the hips, chest and forehead on the ground, pull apart on the hands to about 30% maximum tension (“lengthen” the stick) and lift it up behind you as far as you can.
2. Keep pulling apart as you bring the stick slowly down, and when you reach the level of your head, press the hands together (“shorten” the stick) and lower slowly to the ground, trying to land the hands on the floor at the same time.
3. Repeat this movement slowly x 10
1. Secure the middle of your resistance band to something solid eg around a post, bedhead etc with two equal free ends, and ensure that it won’t come loose.
2. Start with a basic “tummy pull” row movement with both elbows passing close to your sides as you pull back on the bad with both arms, so the direction of pull is toward your stomach. Repeat 10-20 repetitions.
4. Then raise the elbows further to shoulder level and do the “face pull” row movement, with the direction of pull towards your chin (make sure that band is SECURELY attached before attempting this one!). Repeat x 5-10 repetitions.
*This advice is general in nature and is not intended to replace individual professional advice. If you have had a recent or previous significant injury, we recommend that you seek individual exercise advice from your health professional.
Want more fitnessed based surf coaching?
Check out the Kieser / Surf Better Now Iso Workout
Got a question for our coaching team? Throw it in the comments below!
Don’t forget to follow up on socials to stay up to date with what we are up to and who we are working with!

WE ACKNOWLEDGE THE TRADITIONAL CUSTODIANS, THE WADAWURRUNG PEOPLE, OF THE LAND ON WHICH WE WORK AND LIVE, AND RECOGNISE THEIR CONTINUING CONNECTION TO LAND, WATER AND COMMUNITY. WE PAY RESPECT TO ELDERS PAST, PRESENT AND EMERGING.
© 2026 SURF BETTER NOW, All Rights Reserved.